Elden Ring has captivated us with its vast open world, unforgettable bosses, and intriguing characters. Yet, even after the release of DLC, there remains a quest that has left many players scratching their heads—Patches‘ mysterious, unsolved questline.
This infamous character has been a fan favorite (or least favorite!) since the game launched. Despite countless hours spent in search of answers, players still haven’t uncovered the full scope of his journey. So why is this quest so important? Because it feels incomplete, with hints and steps that seem to lead somewhere, yet ultimately end in a dead-end.
This guide is dedicated to solving the puzzle behind Patches’ strange quest. Together, we’ll go through each step to help you understand what is currently known, and what remains a mystery.
Also check out: Did Messmer Kill Melina
Step 1: Begin Patches Quest at Murkwater Cave
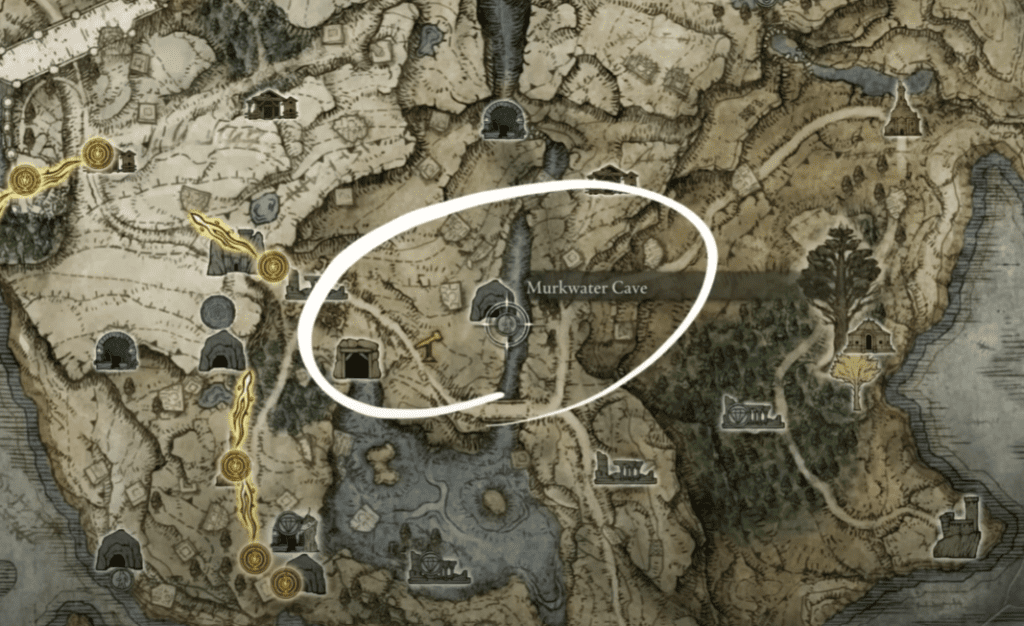
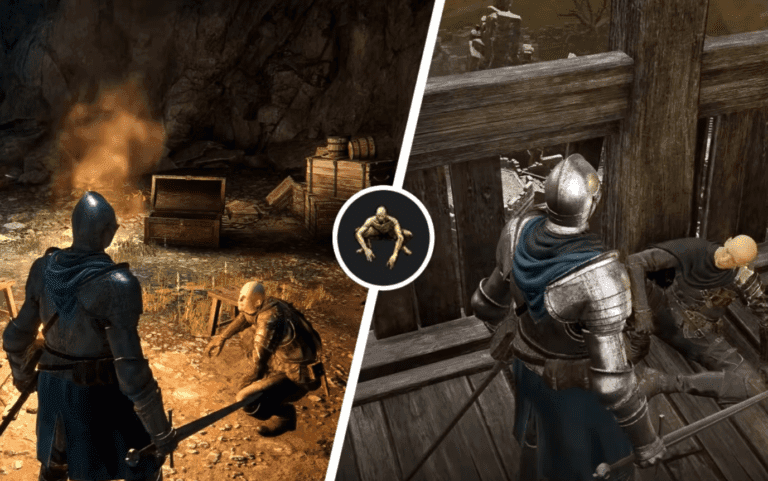
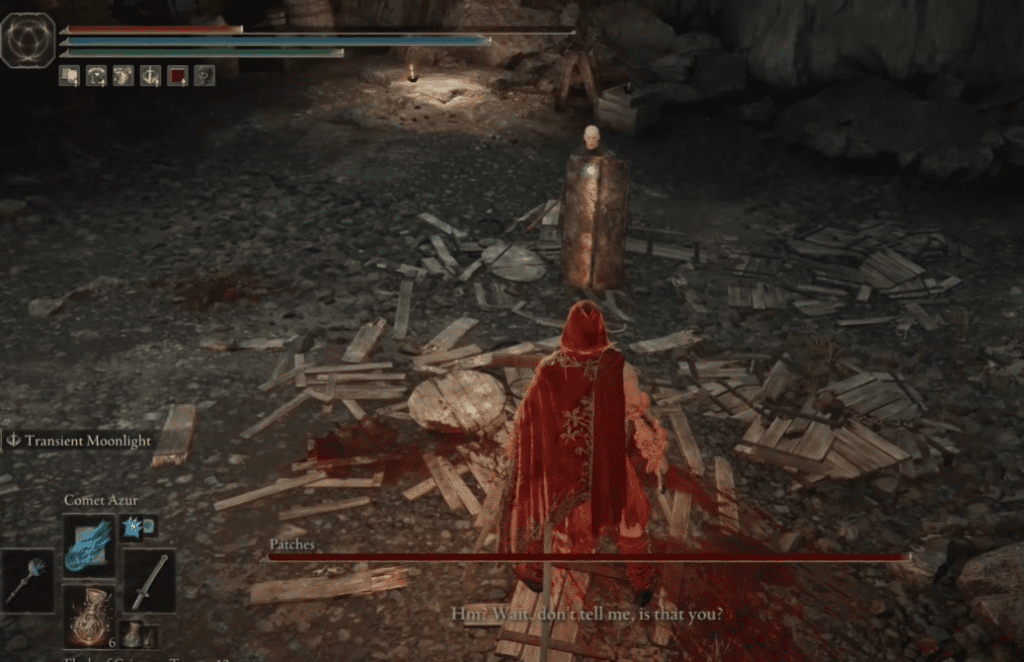
Your journey with Patches starts at Murkwater Cave in Limgrave. Upon reaching the end of the dungeon, you’ll face off against him in combat.
Defeating him doesn’t mark the end, though—Patches surrenders, and here you must make a critical choice: forgive him.
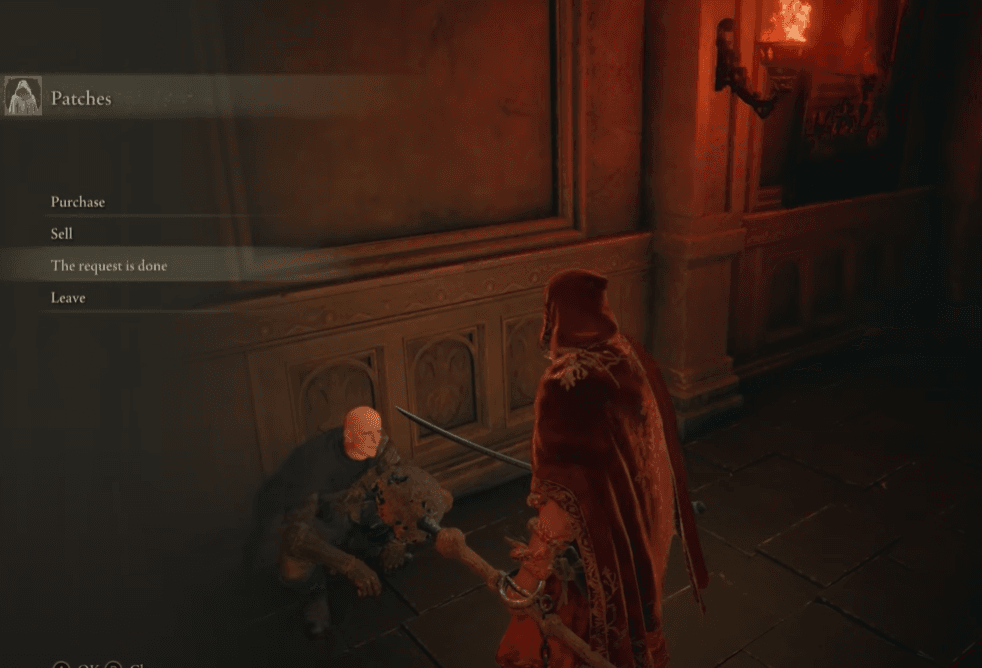
Forgiving him allows him to open up his shop in the future. He’ll also mention that the next time you meet, he’ll be ready for business.
This step initiates the quest line, so make sure you don’t miss this opportunity.
Step 2: Meet Patches in Liurnia of the Lakes
After your encounter at Murkwater Cave, the next time you meet Patches will be in Liurnia of the Lakes, where he sets up shop.
Here, he’ll share information about Rya, the Snake Girl, and give you tips on how to use the Abductor Virgins to reach the Erd Tree’s base.
As always, approach this information with caution—Patches is rarely entirely trustworthy.
Step 3: Patches’ Trademark Move at Mt. Gelmir

Continuing your journey, you’ll run into Patches once more at Mount Gelmir. Just when you think you’re safe, Patches pulls his notorious trick and kicks you off a cliff! Don’t fret—after dusting yourself off, return to the spot where he betrayed you.
You’ll find him crouching in the grass, apologizing (in his own mischievous way) and once again warning you to avoid Volcano Manor.
Step 4: Join Volcano Manor & Complete Contracts
Despite Patches’ warning, your next destination is Volcano Manor. After joining, you will receive assassination contracts to complete.
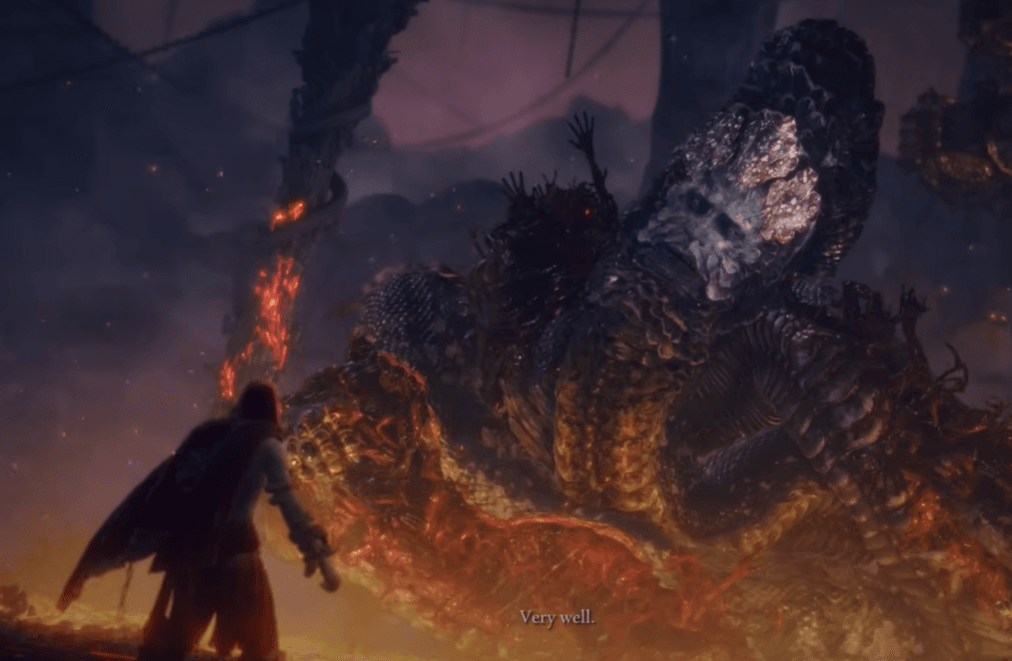
Once you’ve completed a few of these, return to Patches, who will give you a contract of his own: hunt down the Great Horned Tragoth.
- Patches’ Contract:
- Target: Great Horned Tragoth
- Location: Altus Plateau
After successfully eliminating Tragoth, return to Patches, who rewards you for your efforts but, of course, takes a moment to throw in some snide remarks.
Step 5: Complete Volcano Manor Questline
To progress further, you must complete the Volcano Manor questline, which culminates in defeating Rykard, Lord of Blasphemy.
Once this is done, return to Patches, who will inform you that he is leaving, perhaps even suggesting that you, the Tarnished, might one day become Elden Lord.
Step 6: Encounter Patches at the Shaded Castle – Getting Dancer’s Castanets
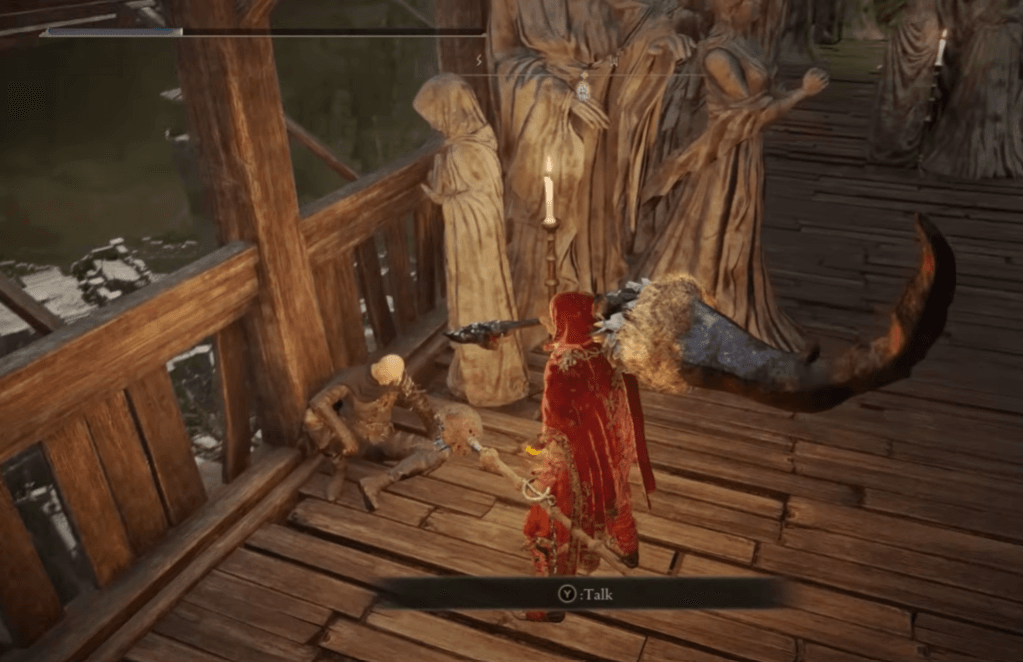
Much later in your journey, you will come across Patches once more, this time in a far worse state. You’ll find him in the Shaded Castle, gravely wounded and sitting among statues.
Despite his condition, Patches will offer you an item: Dancer’s Castanets. His last request? Deliver this to Lady Tanith, the former mistress of Volcano Manor.
Also check out: Elden Ring Mushroom Theory Explained
Step 7: Tanith’s Reaction to the Dancer’s Castanets
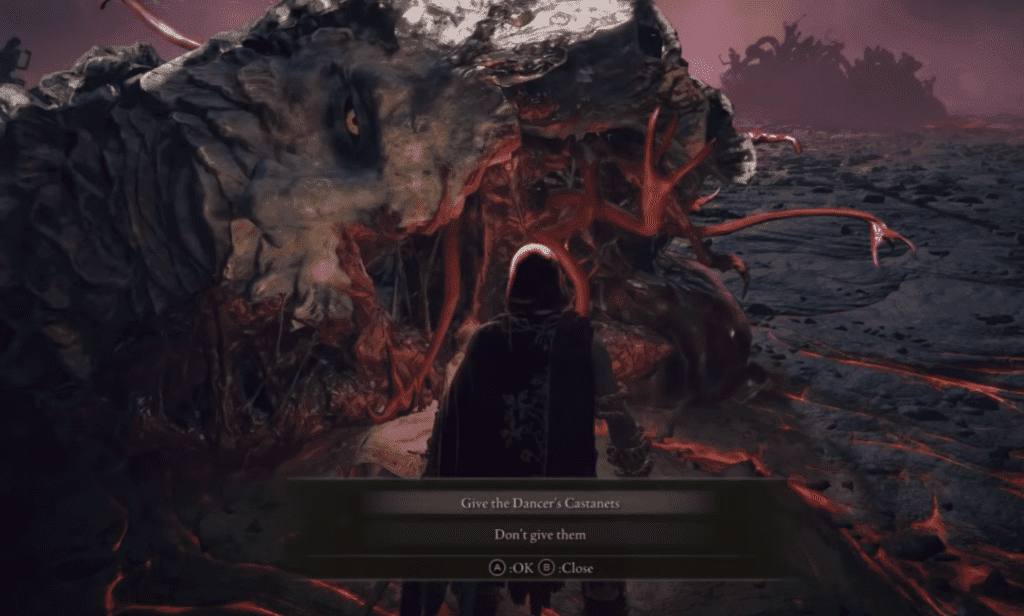
Upon returning to Tanith, who can now be found in Rykard’s boss room, you’ll witness her devouring her beloved lord. Handing her the Dancer’s Castanets results in a surprising response: she has no need for it and dismisses the item.
Despite this, she continues her macabre feast, leaving players to wonder about the true significance of the castanets.
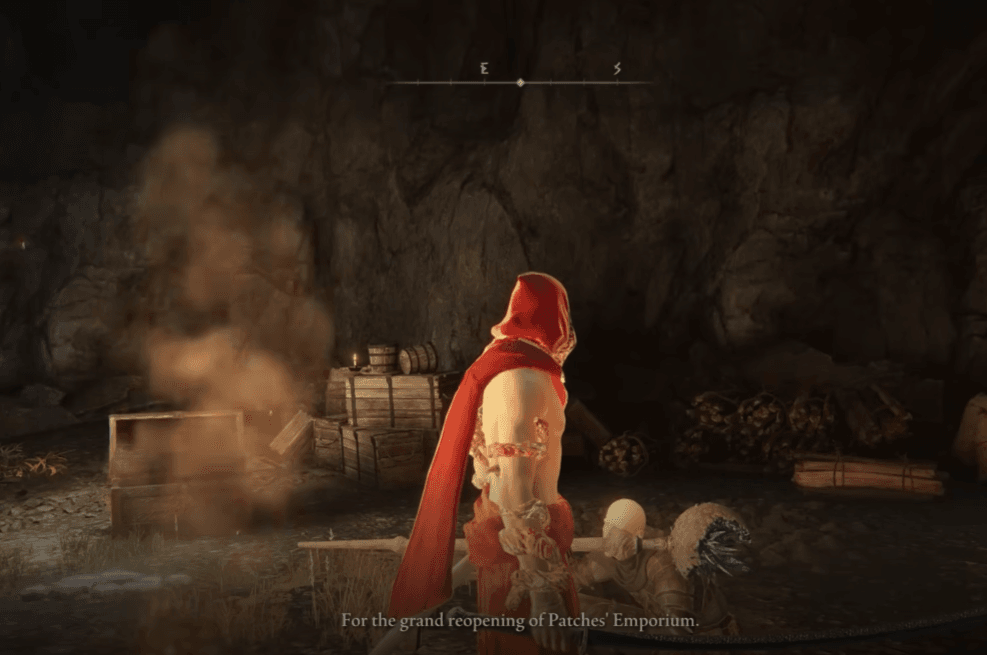
Step 8: Return to Patches’ Cave – Unlocking Patches Crouch
For a final, strange twist, return to Murkwater Cave, where your journey with Patches began. Upon opening his chest, Patches will attack you, but if you resist killing him, he’ll recognize you.
This unlocks a new emote: Patches’ Crouch. Once again, Patches will open his shop, but don’t get too excited—he won’t have any new items for sale.
The Mysterious Dead End
Despite everything you’ve gone through with Patches, this peculiar questline ends on an unsatisfying note. The Dancer’s Castanets remain unusable, with no NPCs accepting the item.
Even after the DLC, there’s no additional information or quests tied to Patches’ storyline, leaving players to speculate whether this quest was meant to be completed or is simply unfinished.
Table: Key Quest Steps in Patches’ Journey
| Location | Event | Key Action |
|---|---|---|
| Murkwater Cave | Fight Patches, choose to forgive | Unlock Patches’ shop in future encounters |
| Liurnia of the Lakes | Patches opens his shop, shares info on Abductor Virgin | Engage with Patches’ Emporium |
| Mount Gelmir | Patches kicks you off a cliff | Return to confront him after the betrayal |
| Volcano Manor | Join and complete contracts, including Tragoth | Earn rewards and progress the questline |
| Shaded Castle | Find wounded Patches, receive Dancer’s Castanets | Deliver the item to Tanith, only to be rejected |
Now you are well-equipped to face the trickster once again!
Thanks to Project Orion Gaming for these amazing details:
Also check out: Elden Ring DLC Jagged Peak Secrets You Probably Missed
Conclusion
In the complex and mysterious world of Elden Ring, Patches’ questline stands out as one of the most perplexing. While many hoped that the DLC would bring closure, the quest remains unsolved.
Despite this, your journey with Patches offers plenty of twists, betrayals, and rewards along the way. Whether you’re a fan of this mischievous NPC or not, his role in Elden Ring leaves a lasting impression.
We can only hope that future updates or DLCs will shed more light on the unfinished elements of this quest.
Until then, stay vigilant, fellow Tarnished—Patches always has another trick up his sleeve.